Note: This post is image heavy, so patience please.
Not the one that Parvati made like the legends say, but the simpler human version that we can make for the puja coming up in two days, or even for fun.
Ive been making my own clay Ganesha for quite a few years now, a pure nostalgic need that takes me back to my childhood. The showering, wearing pattu pavadai, with a rice plate in hand as I accompany my father (and occasionally my whining annoying younger sister: most younger sisters are) to choose and select the best looking one out of a few hundred lining the street corner. They were all from the same mold, but somehow there was this chemistry that happened between us and one particular one, and we’d bring him home; along with an umbrella and the specific flowers that were given importance only during that day.
Thankfully, since we always start school after Labor Day weekend, which is the first Tuesday in September, and Ganesh Chaturthi falls during that last weekend, it’s always a pleasure to be able to celebrate this festival for all that it stands. A new school year and we pray to Ganesha (the remover of all obstacles) before we head out.
Over the years, many have asked, commented and emailed for instructions on making their own too. This is my simple version of how to make one yourself, if you are not fortunate enough to be in India at this time of the year, or even if you do want to personalize the festival by making one yourself.
I also realize that there are many videos out there that explain how to make one, but each are slihtly different in approach, and materials used. Use whatever works best for you, and don’t forget the single most reason for doing this. No matter how it turns, it is your very own Ganesha, so be proud and have faith. Wish you a good year ahead 🙂
Materials:
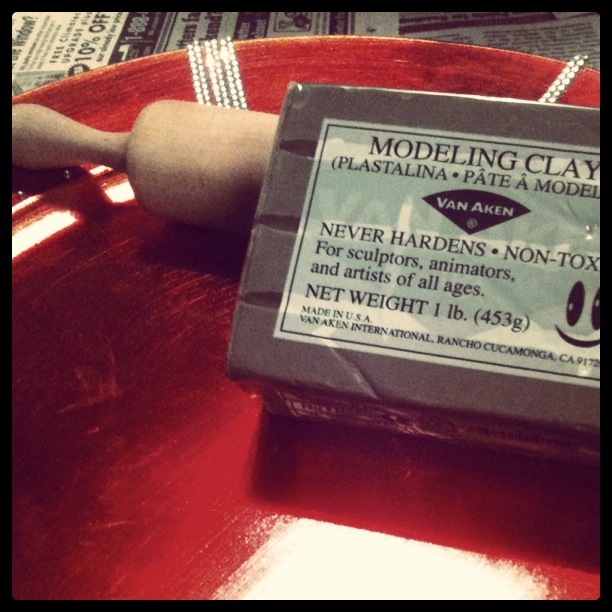
I use Modeling clay. The kind that will not harden with time or with exposure to air. Once you are more comfortable or if you want to make a firmer structure, then use Polymer Care and follow directions on the package. You can get this at any craft store (in the US) – Michaels, Jo-Ann Fabrics, AC Moore and sometimes even in Walmart. Costs about $3 and one slab is plenty for one 6 inch Ganesha.
Rolling Pin
Sharp pointed edge – pencil or chopstick
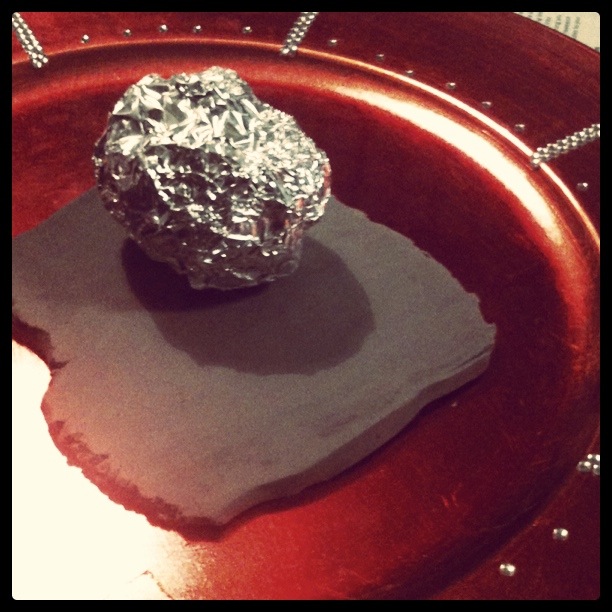
A small ball or you can also roll aluminum foil into a ball and use – optional if you do not want to use clay as a beginning base. This is for the base of the body. A ping pong ball would be for a Ganesha smaller than 4″ and such. Use your judgement.
That’s it, unless you want to decorate a plate or wooden plaque or something similar where you want to place the statue.
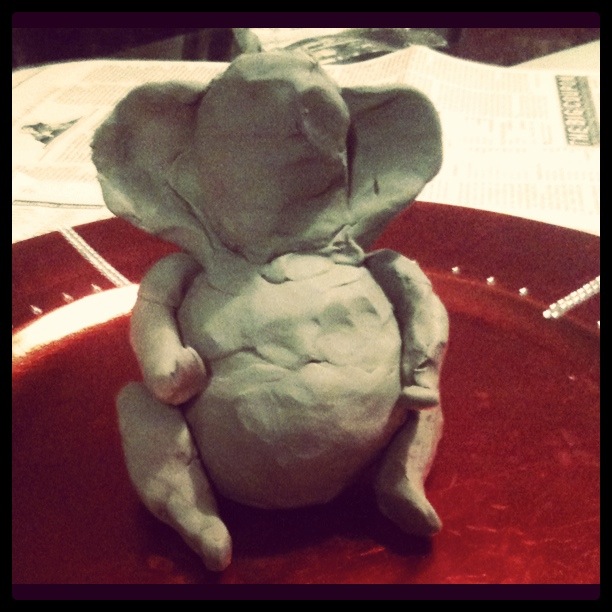
Step 1: Cut 1/4 of the clay and roll it into a thin sheet. Will need some pressure as it will be packed initially. Place the ball in the middle and knead the clay to completely wrap it, add more clay as necessary till you are satisfied with the width of the ball. Flatten one side of it so that will be the bottom on which the statue would rest.
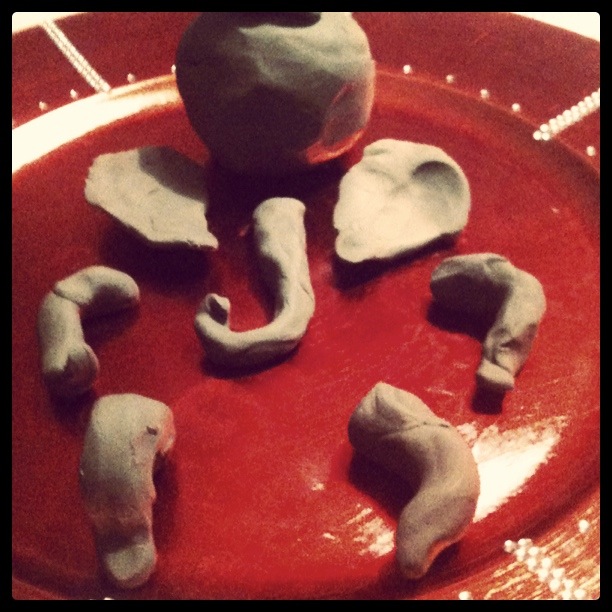
Step 2: Make the various body parts. Head, an oblong pieces, ears, hands, trunk and legs, by kneading the clay into the various shapes. This will take some working as the scale needs to be adjusted according to the rest of the body. Making them slightly larger than you would project will help, as you can always remove than add.
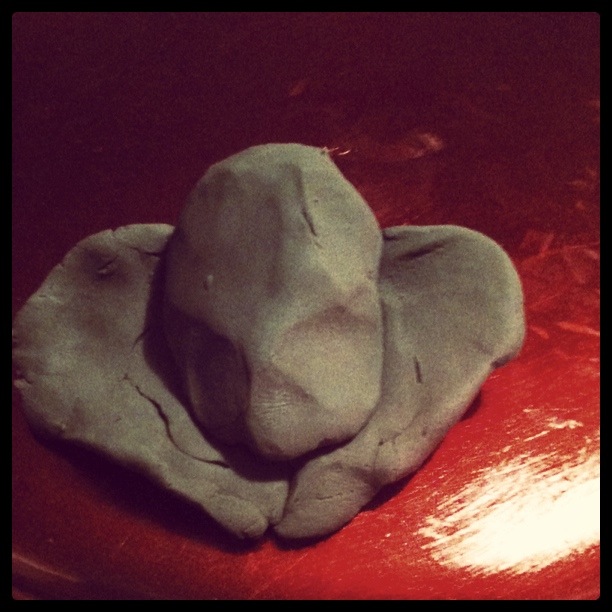
Step 4: Attache the ears together with a small piece of clay in between. Then add the small oblong piece in the front like so. Scale it in such a way that the top oval of the head will be above the tip of the ears.
Step5: Now comes the putting it together.
Visualize Gamesha. He is portly with a large stomach that bulges out before him. His ears are huge. The only two parts that are out of proportion to his otherwise human body. (I could argue on the paunch, but it may border on irreverence, so I won’t 🙂 ) His trunk is in proportion to his body, and so are his arms and legs. I always design in such a way that he has his left leg/ knee bent down and flat against the ground, and the right leg is bent at the knee in front of him. The left hand holds the modaka and the right palm is raised to bless us.
Add more clay in the front of the base and knead to make the front curve out, in an oblong. Smooth as you go along.
Add the smaller ball on top and make it more like one extended slightly slimmer piece going up. The indentation between the chest and the stomach should be marked to an extent.
Step 6: Place the left leg parallel to the ground, close to the body and knead, smooth it close to attach it the complete length, except for the foot, that will be perpendicular and pointing out from the body. Place the right knee also against the body and knead it in. With the foot resting on the ground, so it will be level with the base.
Step 7: The head comes in. Place it above the torso and smooth it so that there really is no neck. Remember, elephants don’t have a prominent neck? Smooth it out all around, like so. Add the hands at the shoulder level, there should be some shoulder (read clay ledge) at the same plane on both sides, and the hands are a projection on either side, so they attach and slope below, like they do for us humans. Get the hands closer to the body, adjust the elbows at right angles. The left palm will hold the modaka and the right hand’s palm turn up to face us.
Don’t worry too much at the smaller detail, for now, the focus is on getting the scale right.
If the right knee isn’t working out for you, you can do the exact same thing as with the left leg. Place it slightly outer and ahead of the left foot at the ankle region, like so.
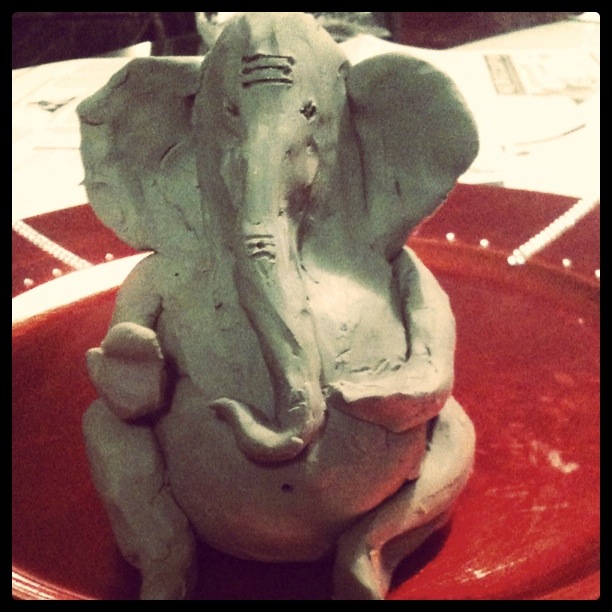
Step 8: The ears get some attention. Since they are large, larger than proportion, and they should also have a gentle feel at teh edges to them, attaching these will take some time and effort. The kneading is done so that the ear hollows to where it is attached and then extends out back into the same plane. The shape is important, and also, the top of the ear could be at the level of the top of the head or below, but usually not above. Curve the outer top edge in, so it has a real feel to it 🙂
Step 9: We now attach the trunk. The trunk should be bulbous at the top, and narrows down and curves whichever way you so choose. Place it about halfway on the head piece, and extend it down all the way to fall gently on the stomach. Not too long, but about halfway down to his waist. Just above the belly button, which you will make with a pencil point just around the largest diameter of the belly. Knead, smooth and add the “three patte” on the trunk with the pencil point.
Step 9: Adjust the head and shape/knead/smooth so that it maintains its shape and becomes oblong and the cheeks lay at a slant and behind the trunk, and slope away down.
Step 10: The accessories
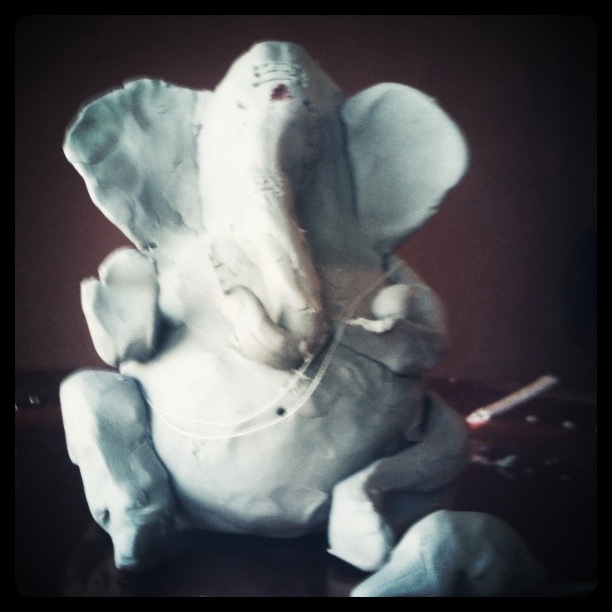
Add a thin white thread or use clay (your choice) for the Jandhyam or poonal or the holy thread. It goes over the LEFT shoulder.(huge faux pas before, thanks to Mytri who pointed it out. This is what happens when you sit into the night working on malleable materials while the whole house is asleep, bah! ) I usually take some regular white thread about 6 inches or so in length, tie the ends up, and slip it over him, such that it falls below the trunk.
Add the eyes with a pencil indentation. If you so please, add a black bead, or a white sparkly stone, or whatever suits your fancy. Sometimes, I leave him plain and don’t dress him much.
Add the Three lines or patte. On his forehead and on his trunk.
Add the tiny modaka.
Add the Vahana – tiny mouse. Its quite simple half a circle, a smaller half a circle and a tiny tail.
I don’t add an umbrella or any more jewelry etc, but just add some kumkum when I place him on the rice plate before we start the puja.
Here is your final piece:
[youtube=http://www.youtube.com/watch?v=qTo_fttK6ys]
A song I love to chant, sing and dance. The words, the tune and then there is MSS. 🙂
Happy Ganesh Chaturthi all.
May everyone have a successful school year and/or rest of the year until we celebrate Him again.
***
Hope this helped. I apologize for being late with this, it’s a busy time of the year. If you do attempt this, I’d be very happy if you could post and link me via comments or comment here, so I can take a peek. It’s always heartening to know one’s time was worthy and was of some use.

Your Ganesha looks SO cute. You are so right when you say your Ganesha is your own. No matter how he is represented, he always winds up looking so benign and adorable (what a way to describe a God, I know)!
haha, the only God, that can be described that way! 🙂
i love the idea 🙂 🙂
Just recovered this from spam! hehe, Maybe one day you can try it 🙂
Wonderful Post Radhika! I admire your interest!
Thanks Aakarsh, necessity is the mother of invention, and variations of that phrase 🙂
This is wonderful, Rads. My kids made clay Ganeshas at the Pittsburgh Temple Camp a few years ago. They are sitting under the banana tree as the pieces came apart in the long ride back home. Very lovely. I prefer to see Ganesha like this rather than the garishly painted ones back home.
Thanks My3 🙂 I prefer the simpler version too. Modeling clay never hardens, am sure the temple sued some form of play doh or such..
A Step by step procedure to make your own God!
Nice…
lol, right 🙂
Perfect timing Rads, ivale ee sari intlo chedhamu ani how-to’s research cheyyali anukunna 🙂 Will buy some modelling clay on my way home..idi nimarjanam ki ok kada ?
Nimarjanam: Ive been bad at it, as I used to like them so much and kept them. Then got yelled at by mom, so last year, I put it outside in my potted/plant and by winter it kinda became a slush, so am thinking it does disintegrate.
Next year, I plan to find a better eco friendly one..
I’ll come by to do the kozhakottais 🙂
Splendid!
Have a great Vinayaga Chaturti
O hello Maami! How nice to see you 🙂
adorable!
lovely!!! happy ganesh chaturhi!!
Thanks Padmaja and Nags 🙂
Wow. awesome post. I wanted to try this for the festival this year. Unfortunately did not visit your website earlier. I searched all over the internet but i did not find any other website which gave such clear instructions like you have. Will definitely show this to my kids and tell them to do the same next year. BTW, will this clay melt when immersed in water? have you tried?
It’s quite simple, my kids put it together quite well.
It doesn’t melt right away, but it does become soft and ultimately washes off. Am looking for a quicker alternative for the next year. 🙂
Turmeric??
Sure! should work. That’s how it was originally done, maybe if we add in some flour, it would make it sturdier to maintain shape. A friend uses plain dirt from her backyard, she says it works just fine.
Great! I tried it for my daughter and she won the1st position!
Hey Lovely post 🙂 if you make the ganesha at home is there a procedure to keep him coz I just know that you need to bring him into your home and there is a procedure for that. If I make his idol at home what do I do how do I place him and all, are there any specifications?